Die erste Tiefen-Prägeform war das Zopfmuster aus dem letzten Herbst-/Winterkatalog. Diese Prägeformen erzeugen einen noch tieferen und plastischeren Effekt als die normalen Prägeformen und mit dem neuen Katalog haben wir noch einmal drei neue hinzubekommen. Eines davon ist die Holzdielen Prägeform und das Ergebnis sieht echt klasse aus.
With the new catalogue we got three new “3D Dynamic Textured Impressions Embossing Folders“. These folders create a deeper and more pronounced impression on your cardstock and it looks absolutely amazing.
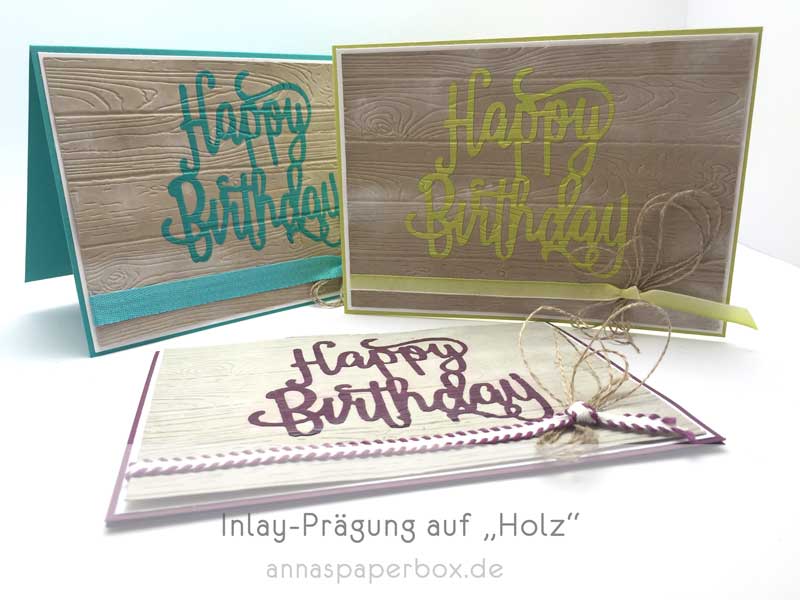
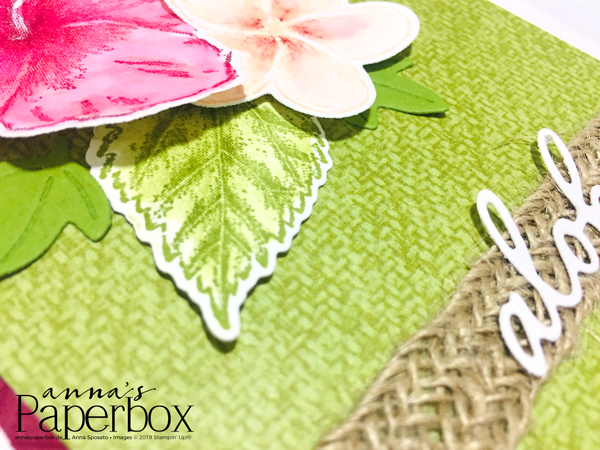
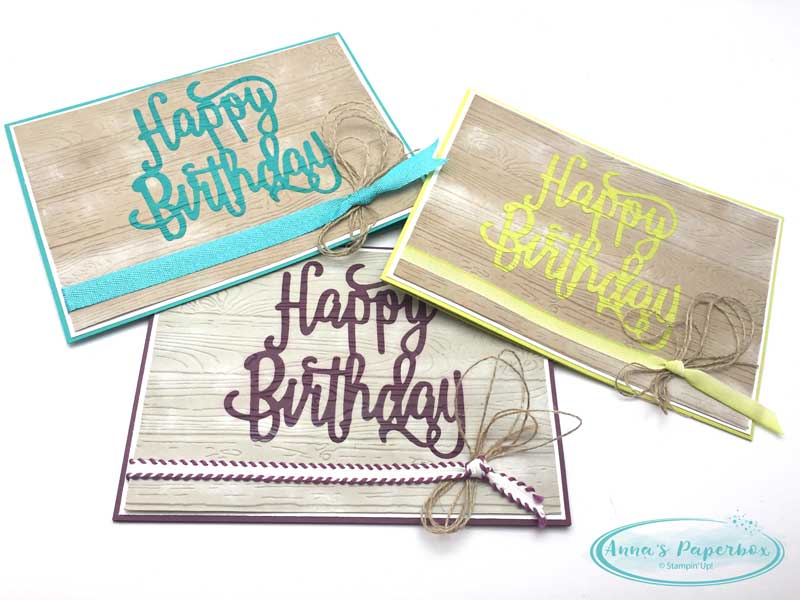
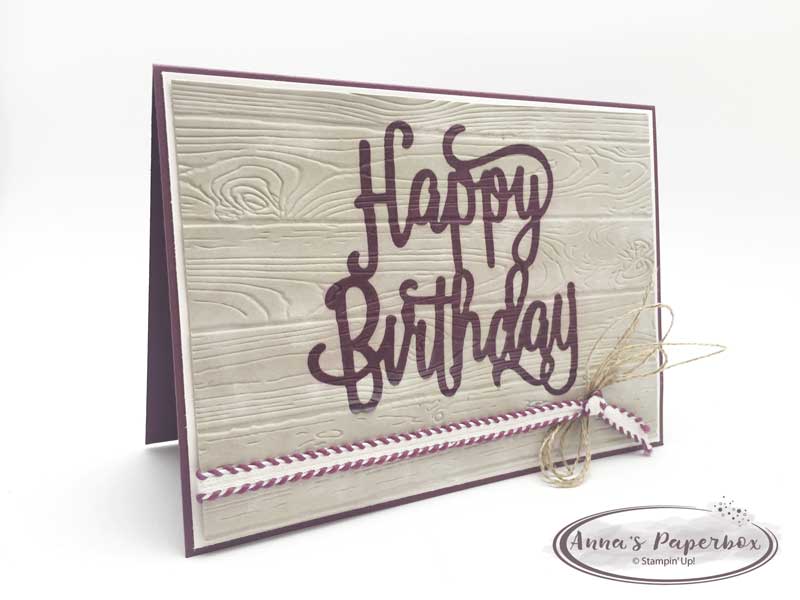
Für meine Karten habe ich Saharasand mit Feige und Savanne mit Limette und Bermudablau kombiniert. Vor dem Prägen hab ich den Farbkarton noch mit der weißen Craft-tinte und einem Schwämmchenbearbeitet um einen verwaschenen und ausgebleichten Effekt zu bekommen. Bei den Karten mit Savanne habe ich auch noch ein bisschen Farbe (Savanne) verwendet um ein paar dunklere Farbkleckse einzuarbeiten.
For my cards I used Sahara Sand with Fresh Fig and Crumb Cake with Bermuda Bay and Lemon Lime Twist. To get a more used and bleached look I put on some craft ink with the sponge daubers and on the two crumb cake cards, I also used a bit of crumb cake ink for a few darker spots.
Als nächstes kommt das Prägen. Dazu zuerst die Farbe auf dem Farbkarton gut trocknen lassen und anschließend mit Wasser anfeuchten. Am besten mit einem Stampin‘ Spritzer oder einer Sprühflasche. Das verhindert das der Karton beim prägen evtl. bricht und es unschöne Risse gibt. Dann das Motiv das mit eingeprägt werden soll, in meinem Fall, der „Happy Birthday“ Schriftzug, ausstanzen, auch mit Wasser besprühen, auf den Farbkaton auflegen und durch die Big Shot kurbeln. Da diese Prägefolder dicker sind ans die normalen, wird hier auf untere Stanzplatte verzichtet. Also Grundplatte, Prägefolder mit Papier, Stanzplatte. Kleben muss man nicht, es auch ohne sehr gut hält. Dadurch das, das Papier nass ist, wird das aufliegende Motiv richtig in den Farbkarton eingedrückt.
After the colouring is done, let it dry a bit and then spritz it lightly with water to break the fibres and so preventing a possible cracking of the cardstock. Next I die cut the “Happy Birthday“ with the Happy Birthday thinlit die and also gave it a light water spritz before positioning on the card. No need to glue it down, as with the embossing it gets pressed tightly in the card and won’t come off later. Please note that with these new Dynamic folders you only need one Standard Cutting Plate on top of the folder. So Big Shot Platform, folder with paper and the cutting plate.
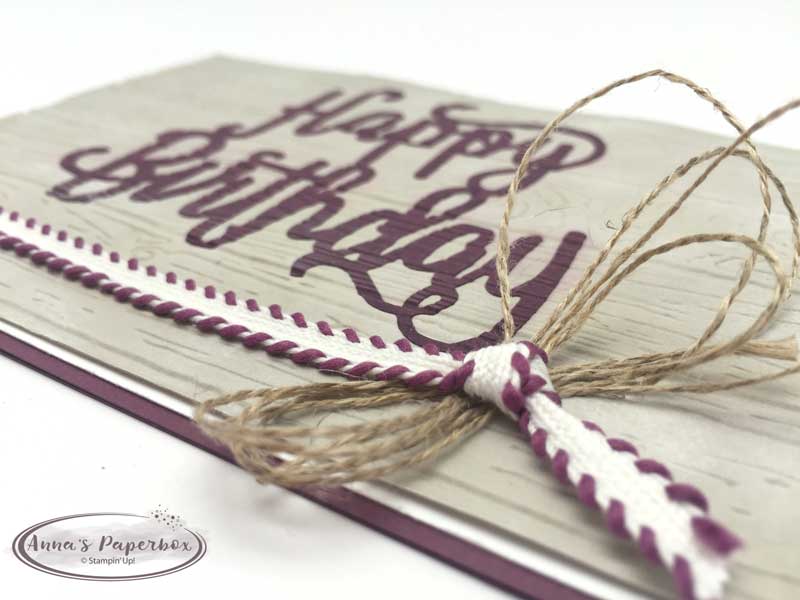
Danach die geprägte Karte trocknen lassen oder mit dem Erhitzungsgerät trocknen. Da die geprägte Karte sich beim trocknen ein wenig wellt, habe ich zum kleben das Flink-Fix Klebeband benutzt. Das verhindert, das sich die Karte evtl. von der Grundkarte löst.
After embossing either let the card air dry or use a heat tool. As the embossed card curls a little while drying, I used Fast Fuse. That keeps the card in place without risking it coming off at the edges.
Eine einfache Technik mit einem echten WOW Effekt. Probiert es gleich selbst mal aus 🙂
An easy technique with a real WOW effect. Give it a try, yourself 🙂

Materialliste/Supplies
Product List


sale-a-bration 2024