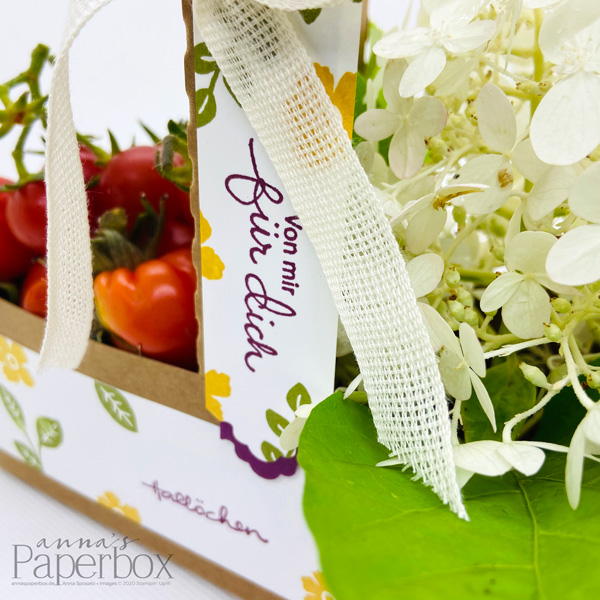
Hallo und Willkommen. Für unsere aktuelle Challenge bin ich mal in den Garten gegangen. Meine Eltern lieben ihre Gartenterasse und pflanzen jedes Jahr fleißig Obst und Gemüse an. Eine Handvoll frisch gepflückter Tomaten und ein Blüte. Mehr braucht es doch nicht für eine hübsche kleine Aufmerksamkeit für einen lieben Menschen.
Hello and welcome. For our current challenge, I went to the garden. My parents love their garden terrace and every year they plant their fruit and veggies. What’s more caring and rewarding than gifting a loved one with a handful of freshly picked tomatoes and flowers from your own garden.
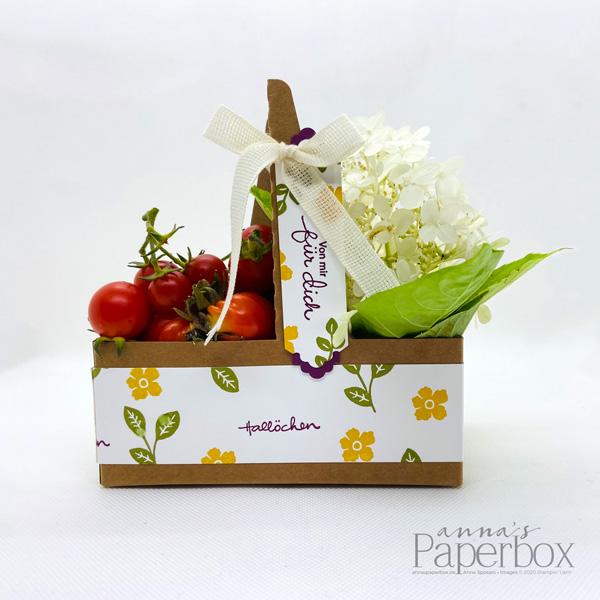
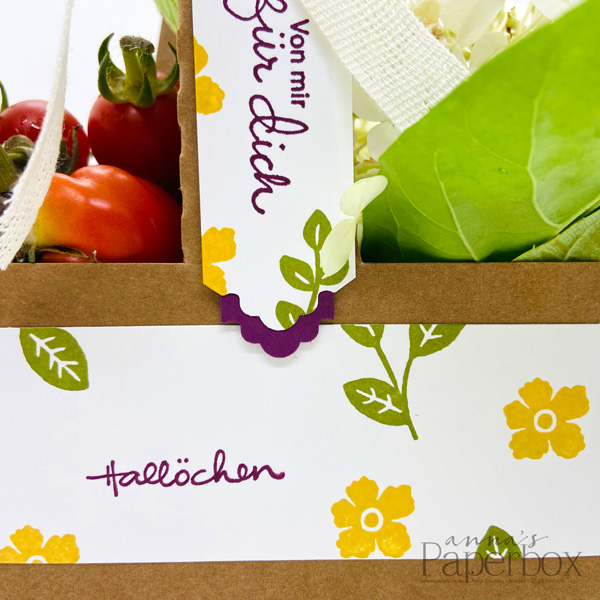
Als Verpackung habe ich die neuen Mini-Becherhalter von Stampin‘ Up! genommen. Die muss man nur noch zurecht falten und feststecken und Dekorieren. Ich habe es recht einfach gehalten. Zuerst habe ich einen Papiersteifen bestempelt, diesen dann der Länge nach geteilt und ihn um das Kästchen geklebt. Die genauen Maße findet ihr weiter unten. Für das Etikett habe ich die Stanze nach Wahl Allerliebste Anhänger verwendet.
I used the new Mini Coffee Carriers from Stampin ‚Up! as a basket. You just have to fold them and tuck the bottom in to fix it. Them comes the fun part. The decorating! I’ve kept mine pretty simple. First I stamped a piece of cardstock, then cut it lengthwise and glued it around the box. You can find the exact dimensions below. For the label, I used the Lovely Labels Pick a Punch.
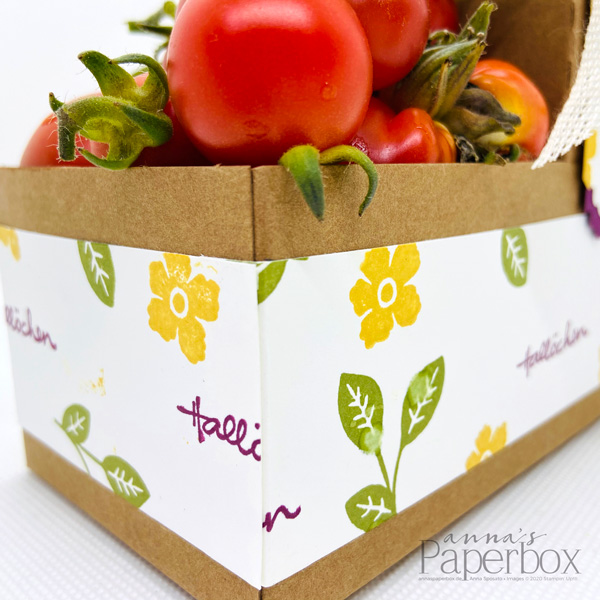
Zum Falzen der Steifen habe ich diese zuerst an einem Ende bei 1 cm gefalzt und dann direkt am Kästchen weitergefalzt. Also, anlegen, leicht an den Ecken knicken und dann diese Knickstelle zum Falzen mit dem Papierschneider verwenden. Das hat besser geklappt als ausmessen.
To fold the strips, I first scored them at one end at 1 cm and then folded them directly on the box. So, lay it on the box, bend it slightly at the corners and then use this bend mark to score it with the paper trimmer. That worked out better than measuring the box and scoring the strips according to these measurements. I often ended up with slightly shorter or longer scored sides.
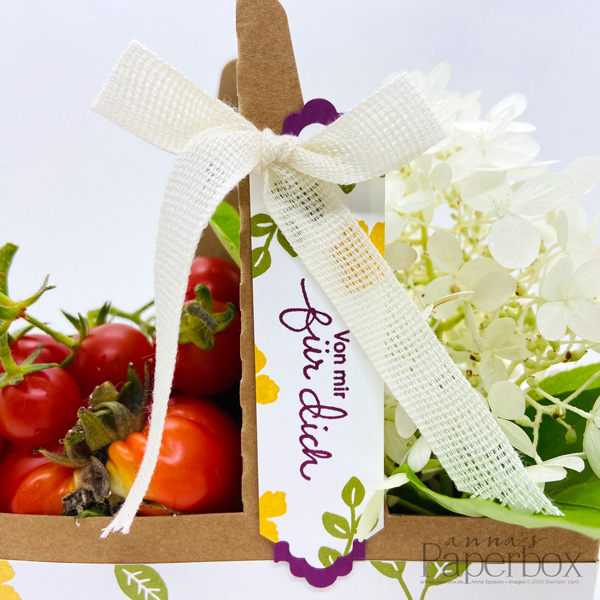
Zum Schluss noch das Etikett mit Band an den Henkel binden und dann kann das Kästchen auch schon gefüllt werden.
Lastly attach the label with a pretty ribbon to the handle and now you can fill it up with all kinds of goodies from your garden or pantry ?
Danke das ihr heute wieder vorbeigeschaut habt. Besucht uns doch auch auf der Challengeseite. Wir freuen uns auf eure Ideen zum Thema. Um auf die Challengeseite zu kommen, klickt einfach diesen Link oder das Challege Logo unten ??
Thanks for stopping by today. Hope I’ve given you some ideas and we would love to see your creation over at Inspire.Create.Challenges. To visit the ICC Challenge, simply click HERE or the logo of the Challenge ??
| Maße für die Manschette: | Measurements for the card: | |
| Farbkarton Flüsterweiß: (1) 3 x 11¾” (8 x 29,7 cm) oder (2) 1½ x 11¾” (4 x 29,7 cm) an der langen Seite bei ¼” (1 cm) falzen (1) 4” x 1” (10,5 x 2,5 cm) Farbkarton Himbeerrot: 4½” x ¾” (11,5 x 1,9 cm) | Whisper White Cardstock : (1) 3 x 11¾” (8 x 29,7 cm) or (2) 1½ x 11¾” (4 x 29,7 cm) score on the long side at ¼” (1 cm) (1) 4” x 1” (10,5 x 2,5 cm) Rich Razzleberry Cardstock: 4½” x ¾” (11,5 x 1,9 cm) |


