Wilkommen zu einem neuen Runde in Pootles Blog Hop. Diesmal zum Thema, Sale-A-Bration. Die ersten drei Wochen sind schon rum und einige Artikel sind bereits in der Nachlieferung. Zwei Stempelsets (Das Gelbe vom Ei und Delicate Details) sind wohl besonders beliebt 🙂 Eines von diesen habe auch ich für mein heutiges Projekt verwendet.
Welcome to a new round at Pootles Blog Hop. This time it’s all about Sale-A-Bration. Three weeks in and and we have already some Products on backorder. Delicate Details and the German version of Hey Chick seam to be everyone’s favourite 🙂 and one of these found it’s way on today’s project.
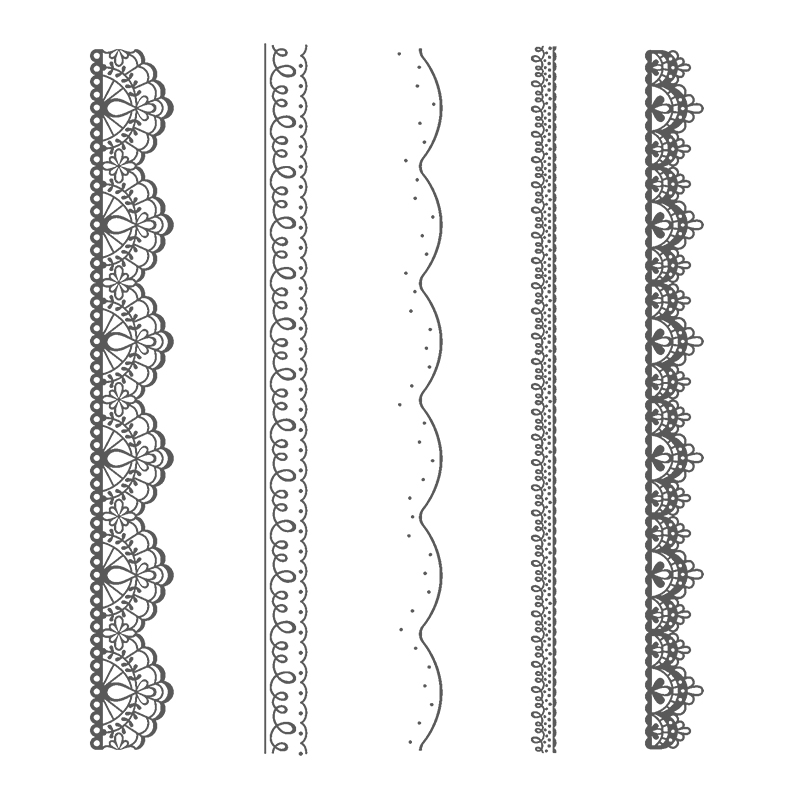
So Very Much & Delicate Details
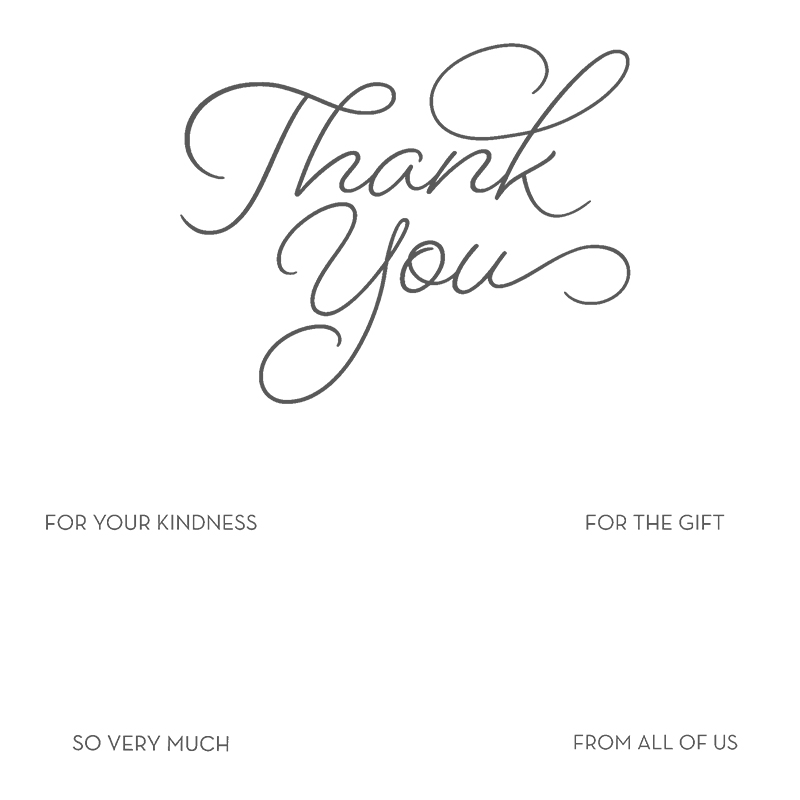


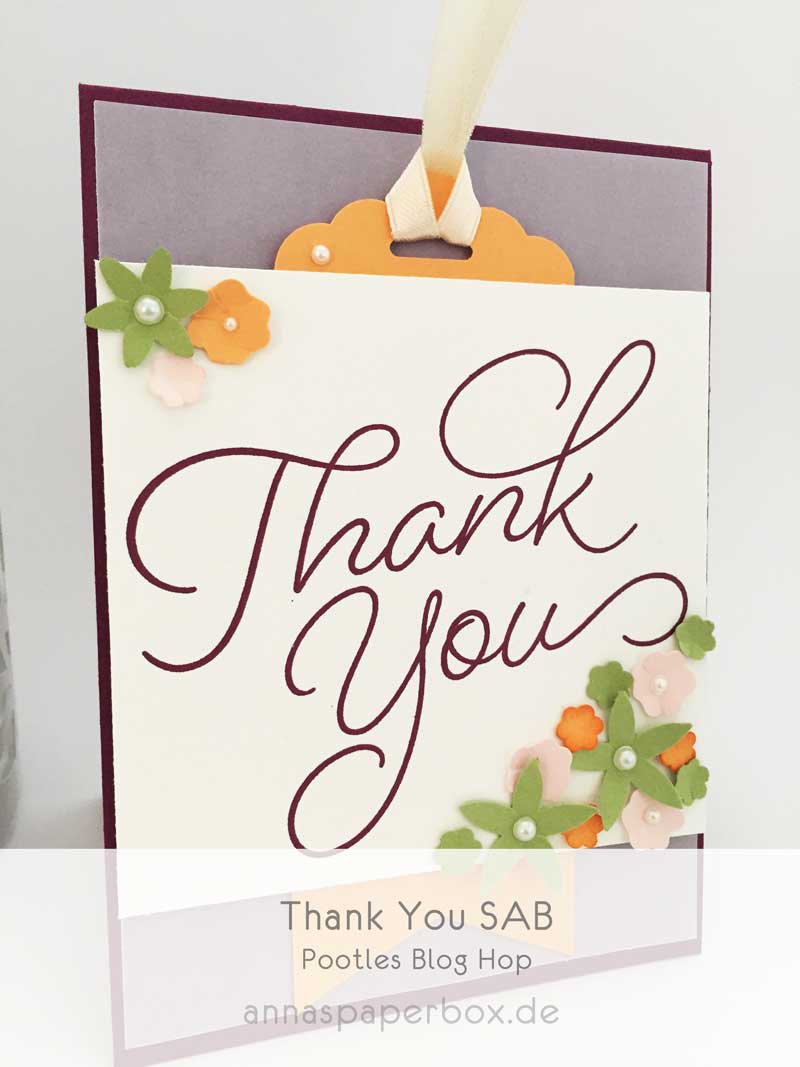
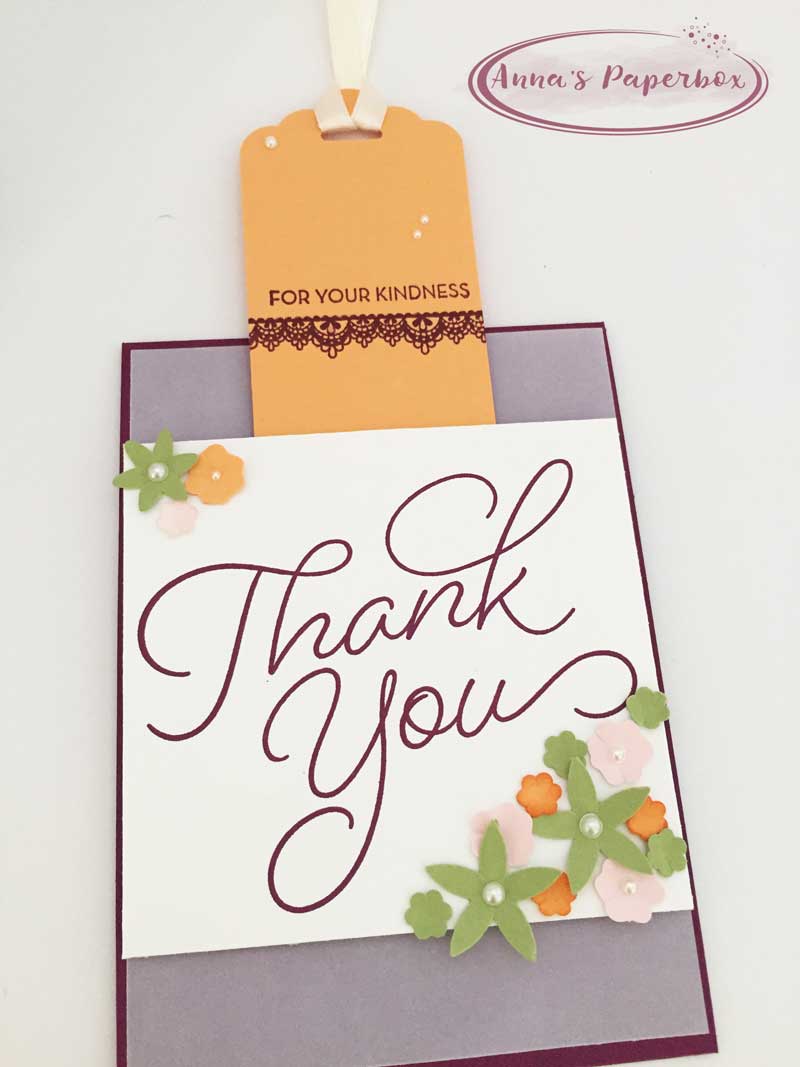
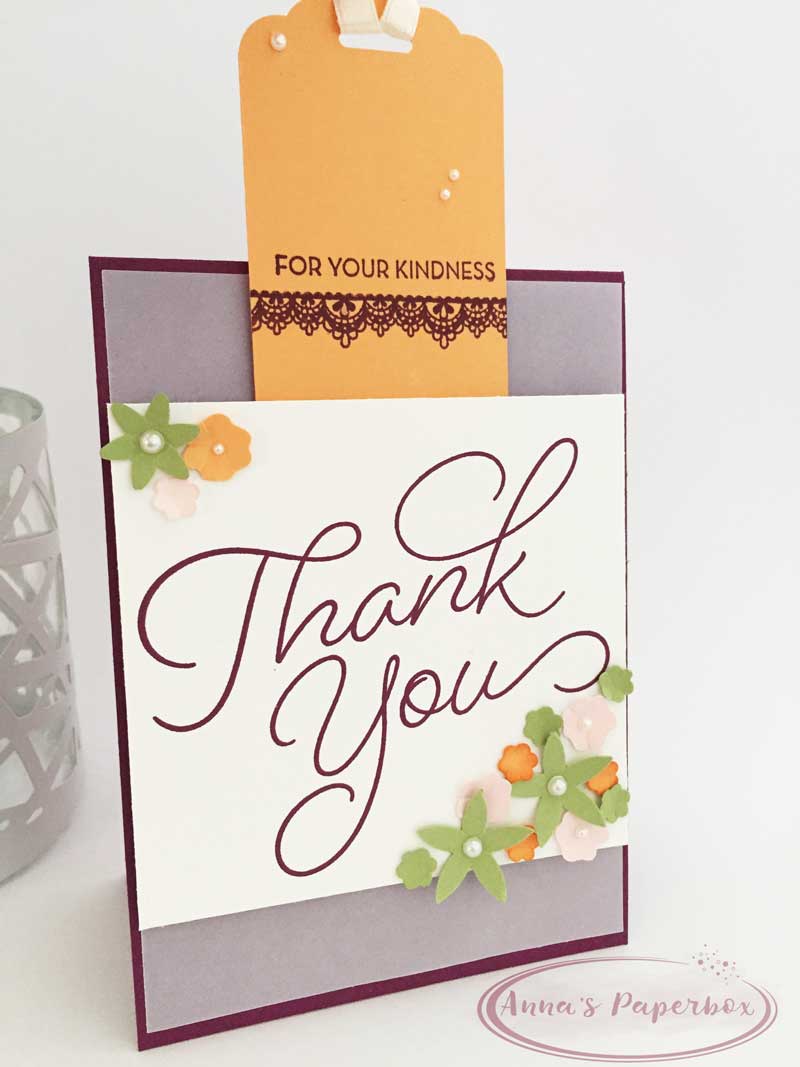
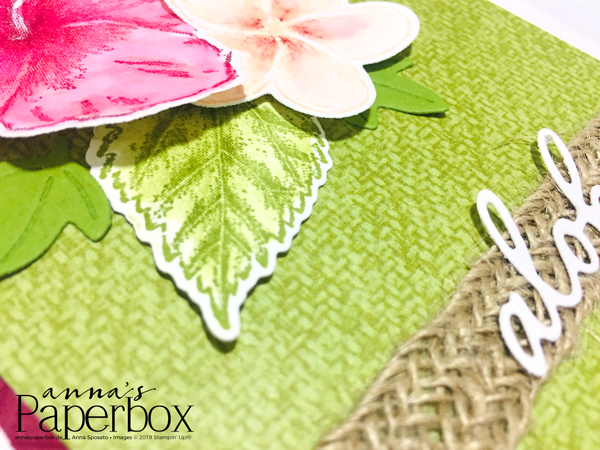
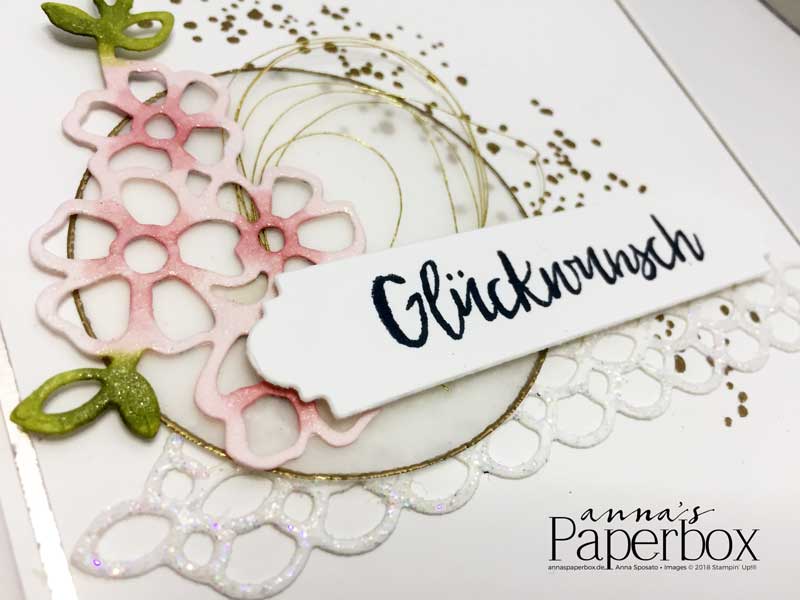
Meine heutige Karte hat einen ausziehbaren Anhänger, auf den ich den zweiten Teil meines Grußes gestempelt habe. Die Grundkarte in den Maßen 10,5 x 29,7 cm (4 1/8″ x 11 1/2″), gefalzt an der langen Seite bei 14,8 cm (5 3/4″), ist in Himbeerrot. Darauf hab ich ein Mattung aus Pergament aufgeklebt. Damit der Kleber oben und unten nicht durchscheint, habe ich ihn nur mittig aufgetragen. Der Teil der von dem Flüsterweißen Farbkarton verdeckt wird und dann kam dieser wunderschöne Stempel (Ich habe hier die englische Version) aus der aktuellen SAB-Broschüre zum Einsatz. Gestempelt in Himbeerrot auf Flüsterweißen Farbkarton.
Today’s card has a slider tag with a little greeting on it. The base card is in Rich Razzleberry and is 10,5 x 29,7 cm (4 1/8″ x 11 1/2″), scored at the long side at 14,8 cm (5 3/4″). I matted it with a piece of Vellum cardstock that measures 10 x 14 cm (4″ x 5 5/8″). I only used glue on the middle part of the vellum, where it will be covered with the Whisper White cardstock. Then I stamped this beautiful SAB-stamp in Rich Razzleberry onto Whisper White cardstock.
Für den Anhänger hab ich die Stanze Gewellter Anhänger benutzt. Das Fähnchen dann einfach mit der Schere ausschneiden.
Die Maße für den Anhäger sind: 5 x 13,5 cm (2″ x 5 1/2″)
To make the tag I used the Scalloped Tag Topper punch. For the banner simply use your scissors.
Cardstock measurements: 5 x 13,5 cm (2″ x 5 1/2″)
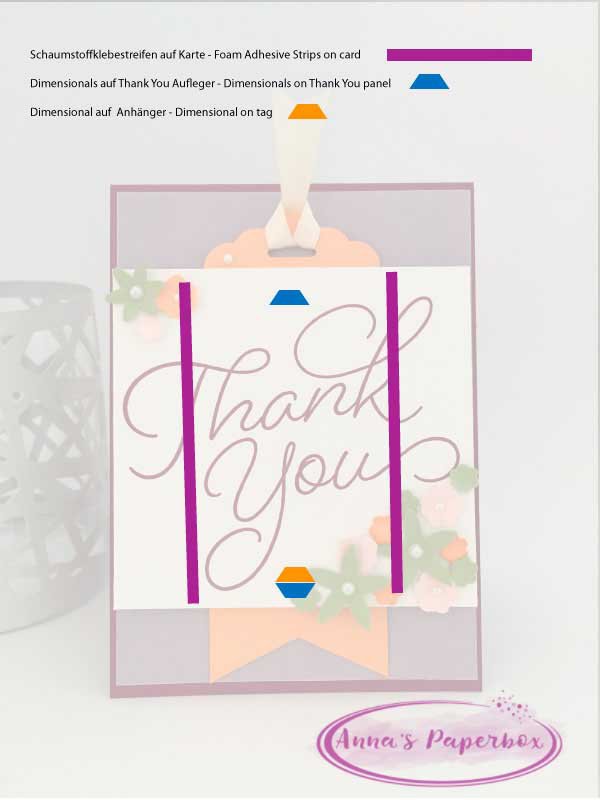
Auf dem Foto seht Ihr die Platzierung der Schaumstoffklebeteile. Für die Seitenführung habe ich die Schaumstoffstreifen genommen, da diese etwas höher als die Dimensionals sind und so der Anhänger etwas mehr Luft hat. Den Anhänger mittig auf die Karte legen und dann die Streifen seitlich vom Anhänger aufkleben. Bitte auch hier 1-2 mm Platz lassen, sonst lässt sich der Anhänger nur schwer herausziehen. Schutzfolie der Dimensionals nicht entfernen, da sonst alles zusammenklebt, logischerweise. Ratet mal wer das beim ersten Versuch nicht beachtet hat?
On the picture you can see where I put the foam pieces. For the sides I used the Foam Adhesive Strips, as these are a tiny bit higher than the dimensionals. That way the slider has a bit of wiggle room. The same goes for the sides. When you put down the strips leave a bit of room on each side. A word of advice, don’t remove the protective cover from the dimensionals once you put them in place. Otherwise the slider effect vanishes into thin air, never to be seen of again. Guess who did exactly that the first time around?
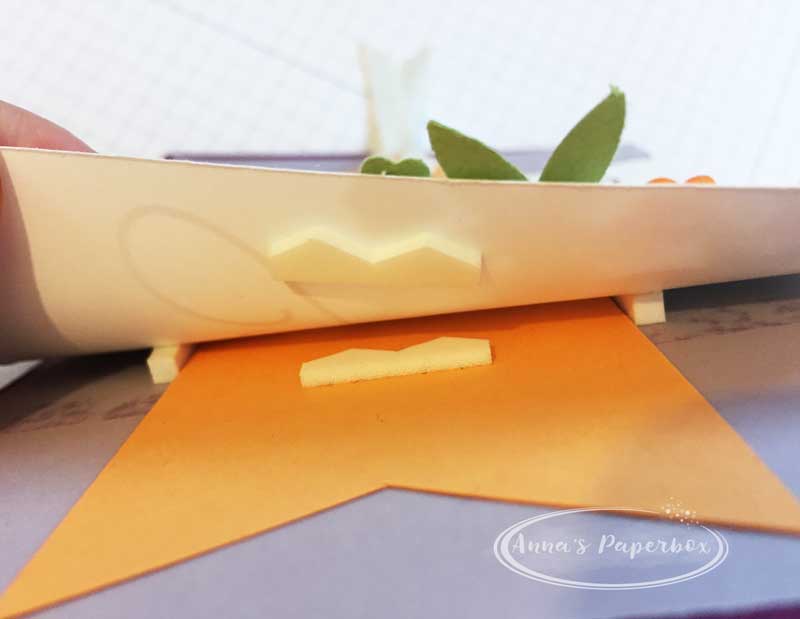
Auf diesem Bild sieht man wie und wo ich die Dimensionals aufgeklebt habe. Zuerst weißen Aufleger kleben und dann den Anhänger einschieben und so platzieren, wie es am schönsten aussieht. Am einfachsten ist es, jetzt ein Stück Dimensional zwischen Aufleger und Anhänger legen und bündig mit den Dimensionals an dem Aufleger anlegen (siehe Foto), evtl. Position markieren und aufkleben. Geschafft! 🙂
On this picture you can see how I placed the Dimensionals. At first attach the card with the greeting onto the foam strips, then slide in the tag and position as desired. Now put a dimensional between the tag and the card and lay it flush against the dimensional of the card. Mark the position an attach it to the tag (see picture). Done! 🙂
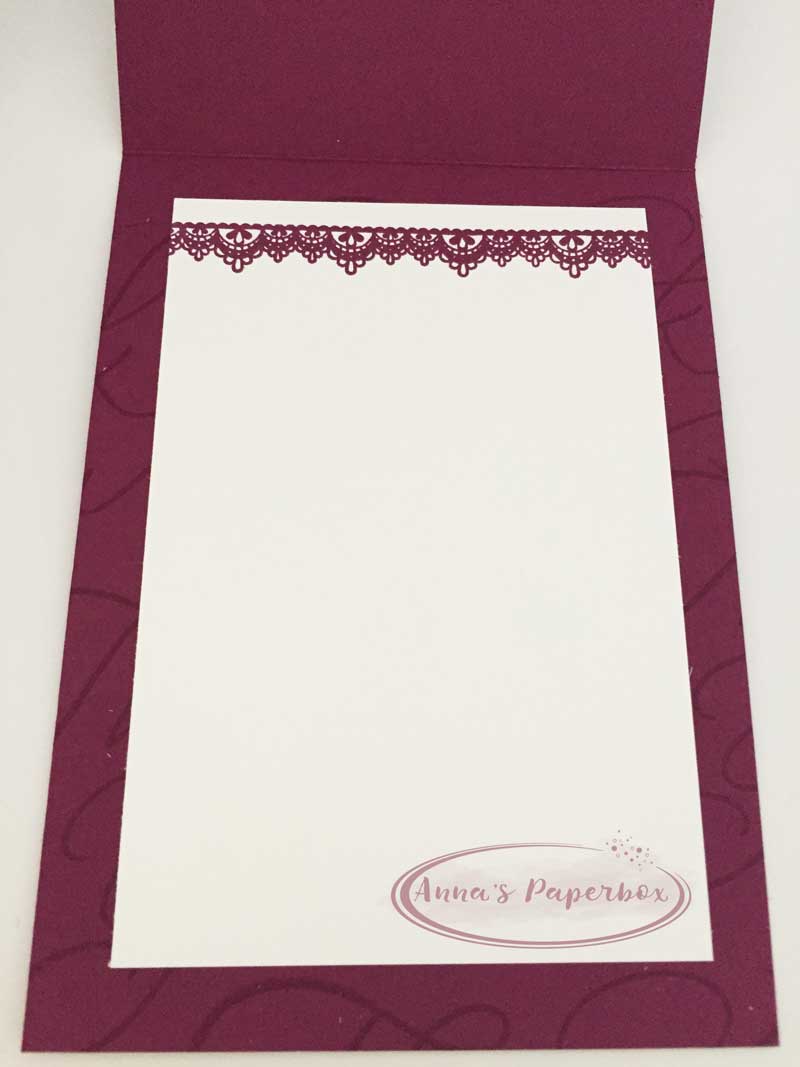
Das innere der Karte habe ich auch „aufgehübscht“. Die Grundkarte ist mit dem „Thank you“ Stempel und die Flüsterweiße Karte mit einem der Delicate Details Stempel in Himbeerrot gestempelt.
I also „prettied up“ the inside of the card. The base card is stamped with the „Thank you“ stamp and the Whisper White card with on of the Delicate Details stamps. Both in Rich Razzleberry.
Das sind nur zwei der insgesamt zwölf tollen Gratisprodukte, die noch bis zum 31. März während der Sale-A-Bration erhältlich sind. Für je 60 € Bestellwert (zzgl. Versandkosten) bekommt man 1 Gratisprodukt nach Wahl. Alle weiteren Infos zur Sale-A-Bration findet Ihr hier.
These are only two of the twelve amazing free products, which are available during Sale-A-Bration. For every 60 € / £45 you spend (catalogue price before shipping and handling), you get one free item of your choice from the SAB brochure. See here for more information.
Pootler’s Team Blog Hop
Materialliste/Supplies






sallystampers
Great card Anna. Lovely bright colours.xx
Anna
Thank you Sally 🙂
stampwithpeg
Lovely card, love the colour combo x
Anna
Thank you Peg 🙂
Dee, Lady Dee Crafts
Love the colours you have used for your card. The tag is a brilliant idea xx
Anna
Thank you Dee