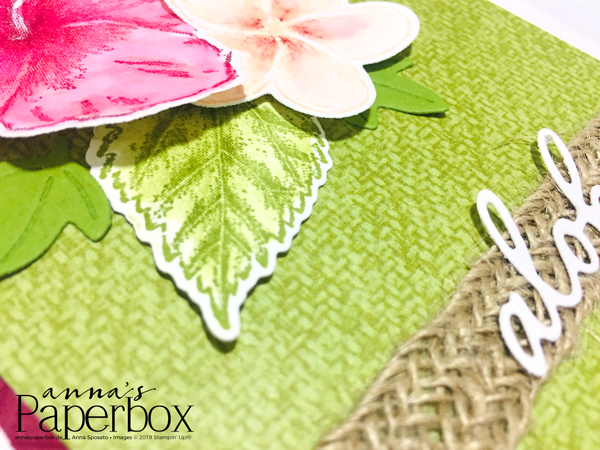
Vor einigen Wochen bin ich bei Pinterest (wo sonst) über ein paar Inlay-Karten gestolpert. Dabei wird ein Motiv ausgestanzt, koloriert oder mit anders farbigen Stanzteilen wieder zusammengesetzt.
A couple weeks ago, after an lengthy Pinterest session 😉 I found some interesting inlay cards, where you replace the cut out piece with a different colour one.
In Theorie hört sich das auch ganz einfach und spaßig an. Was es auch ist, wenn die Einzelteile nicht gerade mikroskopisch sind. Aber das ist natürlich kein Grund so ein Projekt nicht in Angriff zu nehmen und ich habe nicht nur eine Karte gemacht. Nein, nachdem die erste irgendwann mal endlich fertig war, habe ich gleich noch eine gewerkelt.
In theory it sound easy and fun, which it totally is, when you don’t have to deal with microscopic pieces. But of course that’s no reason not to make one, right. After all, we all love a challenge. So after I finished the first, I went and made another one. In the end I made FOUR, because I forgot to take pictures of the first two.
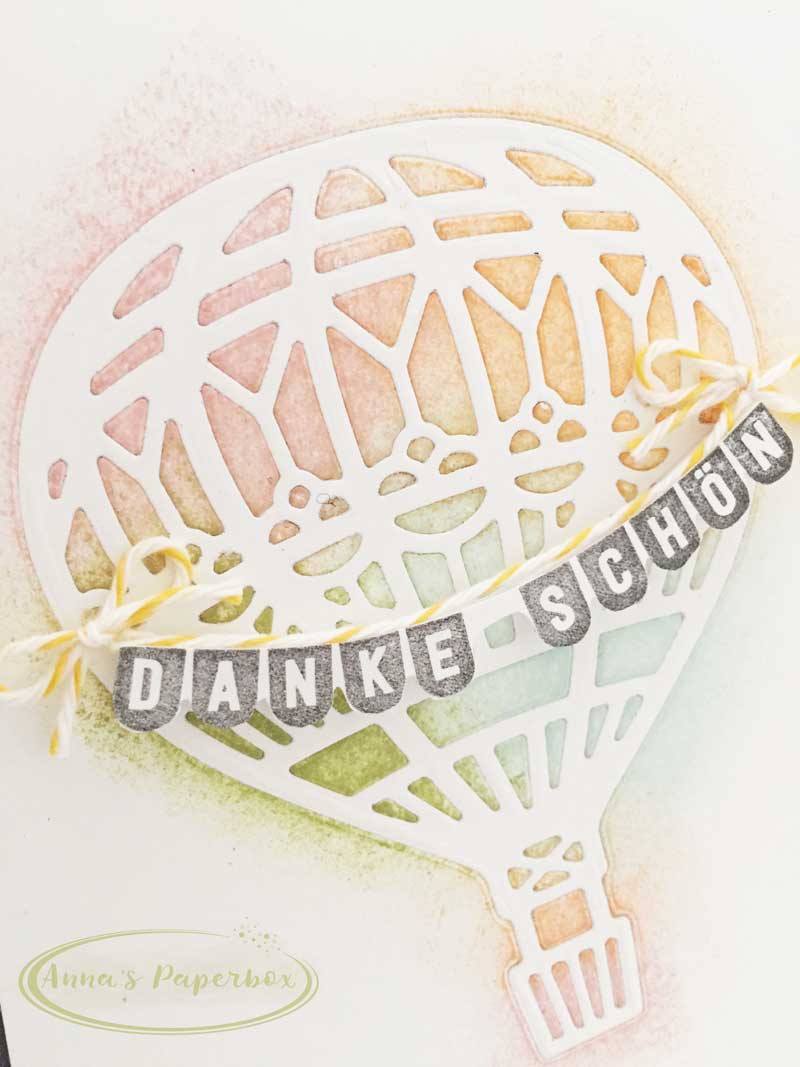
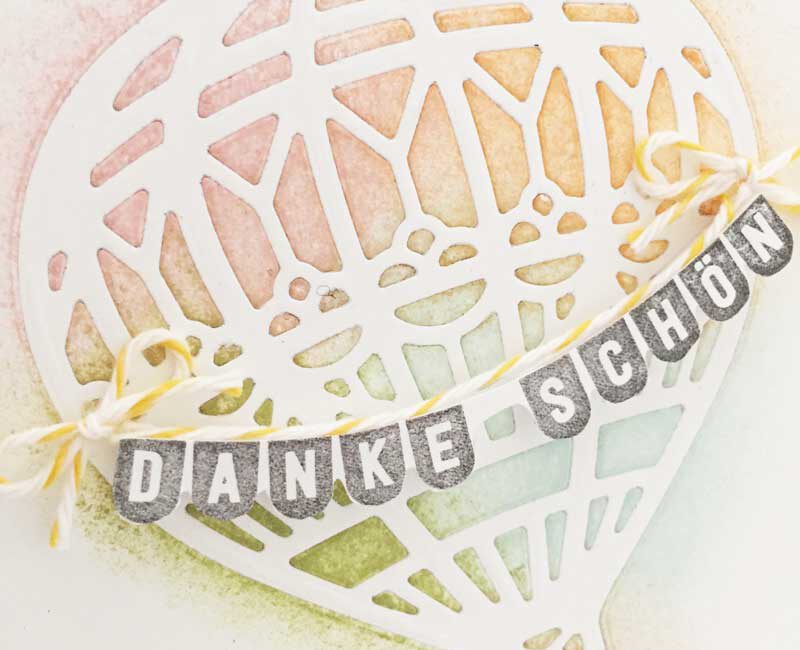
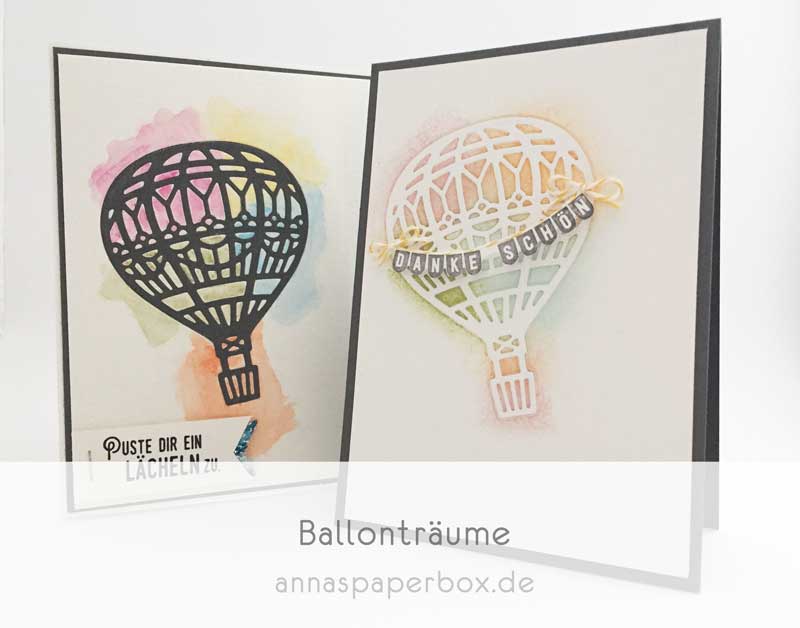
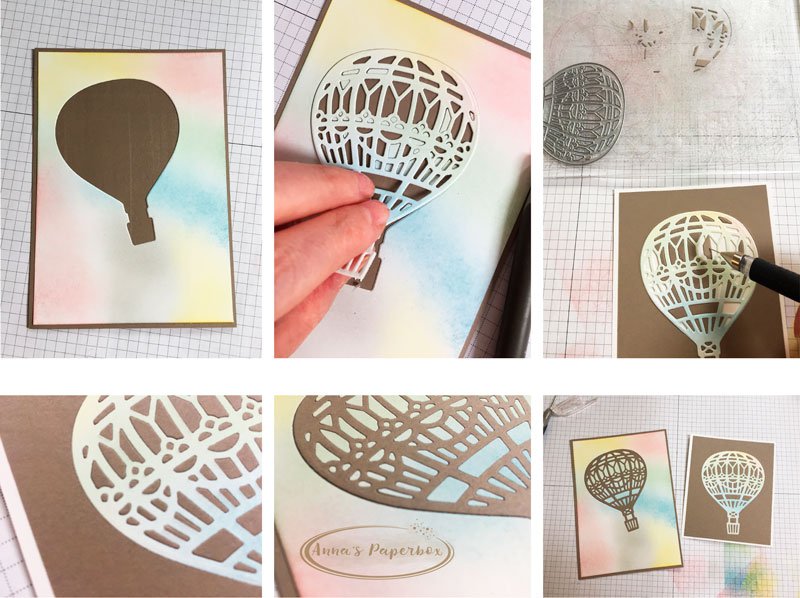
Vor dem Stanzen die Farben auf ein Stück Farbkarton auftragen. Dazu können Schwämmchen, Stempelkissen/Aquarellstifte und Wassertankpinsel oder die Mischstifte benutzt werden. Bei aquarellierten Hintergründen solltet Ihr entweder Aquarellpapier oder das Seidenglanz Papier verwenden. Der normale Farbkarton ist dazu nicht geeignet. Dann die Form ausstanzen. Den dunklen Farbkarton auf dem ersten Bild habe ich flächig mit Snail bedeckt und dann die ausgestanzte Karte aufgeklebt. Jetzt kann der Ballon ausgefüllt werden. Da in dem ausgestanzten Ballon oft die kleinen Teile noch drin sind, kann man den Ballon wieder in die Karte legen und die Kleinteile durchdrücken (Papier-Loch-Werkzeug, Büroklammer etc.). Danach habe ich einen zweiten, einfarbigen Ballon ausgestanzt, damit den bunten ersetzt und die restlichen Lücken aufgefüllt (Bild 3). Damit die kleinen Teile auch fest kleben und nicht wieder herauspurzeln, habe ich die Karten am Ende noch einmal durch die Big Shot gejagt.
To begin with, I coloured a piece of whisper white cardstock using sponges, for one card and watercolour pencils on watercolour paper for the second one (pictures above). After that I die cut the balloon and carefully lifted it from the cutting plate, leaving as many of the tiny pieces in the balloon as possible. Next I put snail adhesive all over a card base and glued the coloured card on it (fist picture below). Now comes the fun part. Lay the balloon in its place (picture 2) without pressing down. We don’t want the balloon to stick down, because it gets replaced later. Now grab a paper piercer or something similar and push the tiny pieces onto the card. After your done, carefully lift the balloon and replace it with a contrasting coloured one (picture 3). To make sure everything was firmly glued on and those tiny bits wouldn’t come off, I ran the cards through the Big Shot.
So kann man gleichzeitig zwei Karten machen.
That way you can make two cards at once.

Materialliste / Supplies


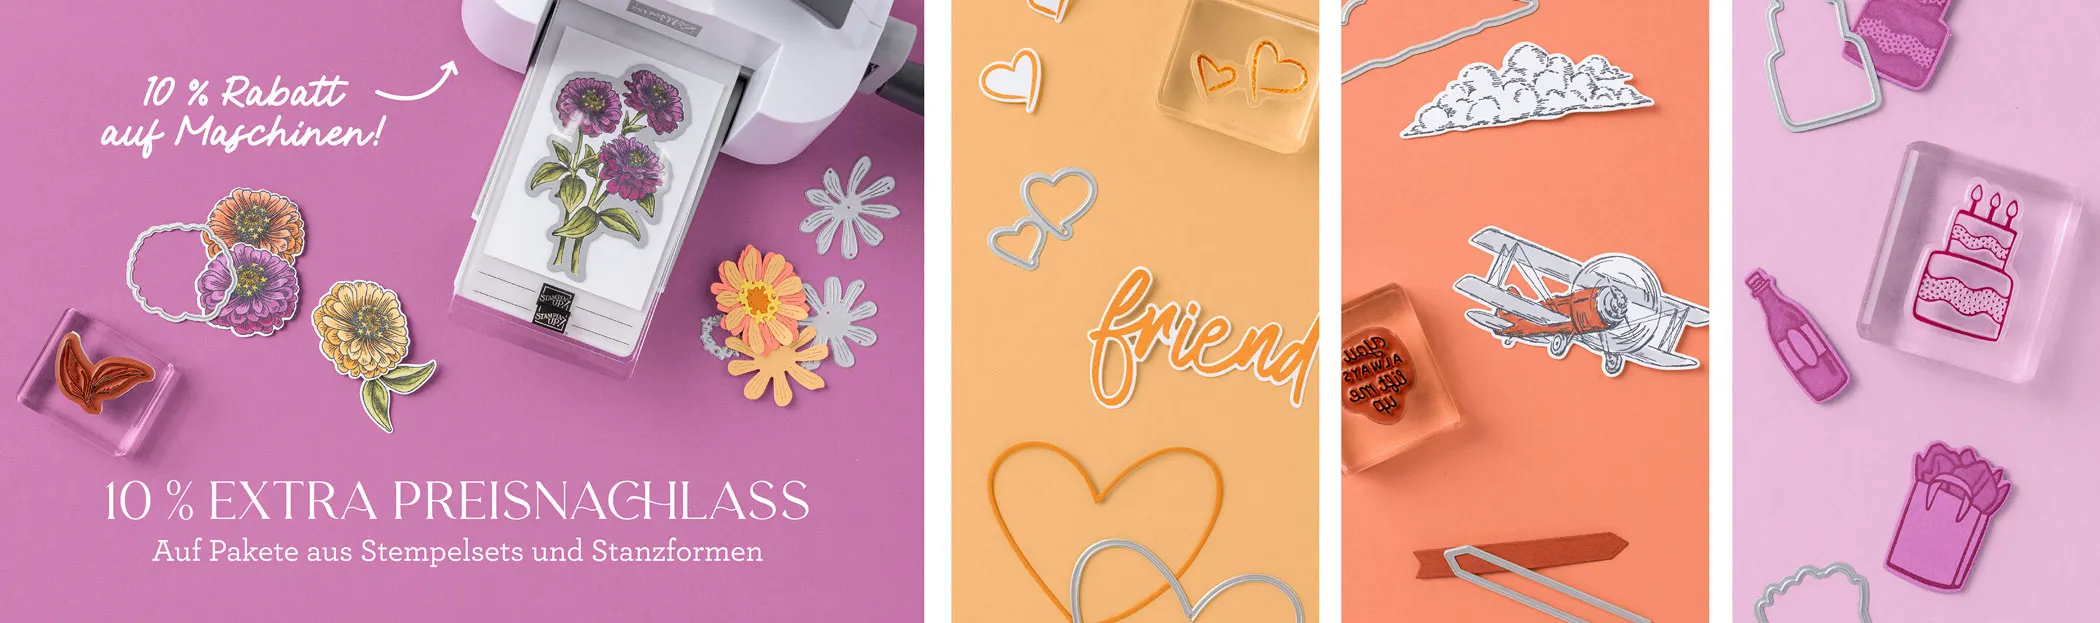
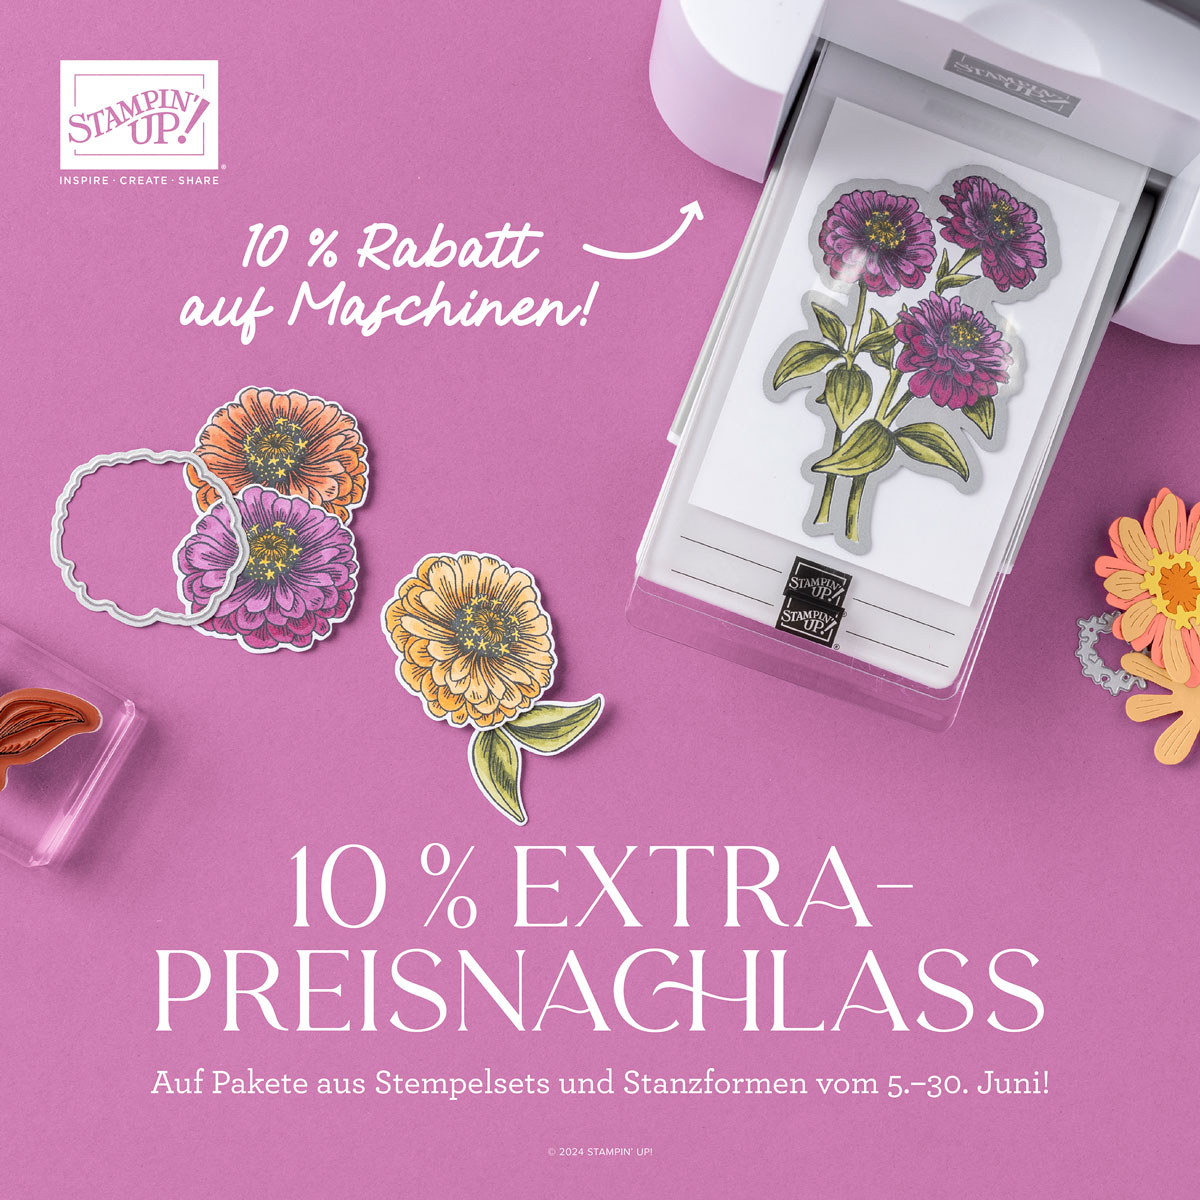
10% Extra-Preisnachlass