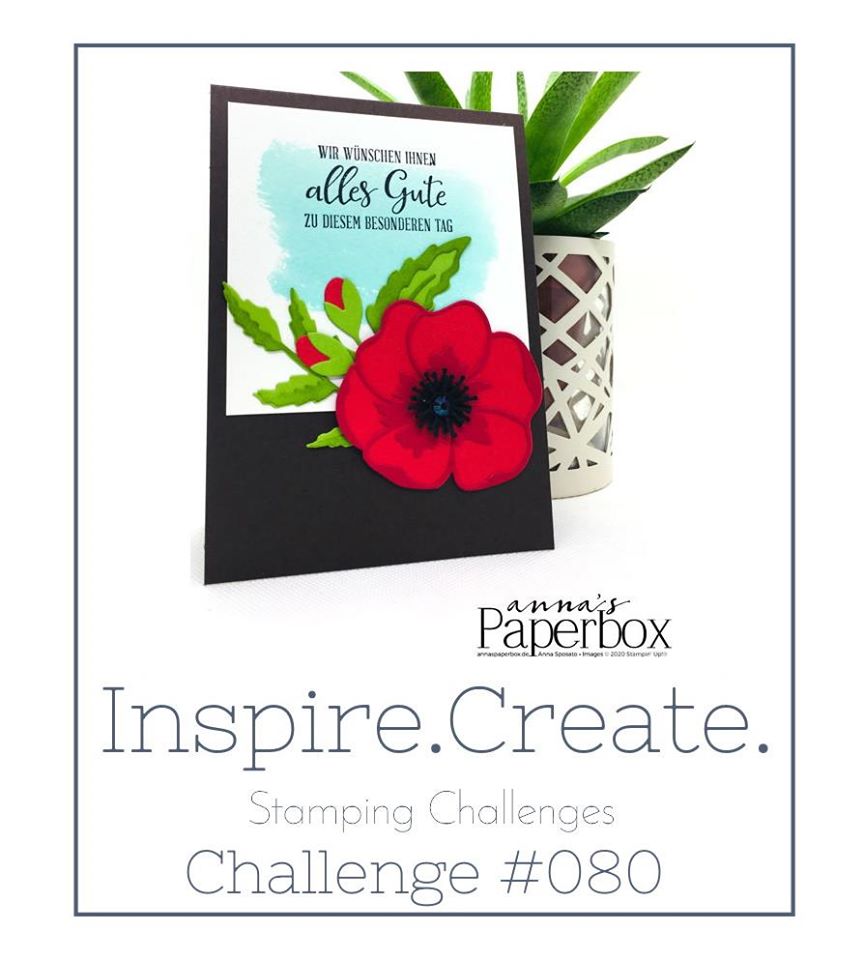
Hallo und willkommen zu unserer vorerst letzten Challenge. Ja, ihr habt richtig gelesen. Nach etwas über drei Jahren, machen wir eine kleine Pause. Aber keine Sorge, im neuen Jahr wird es wieder neue Challenges geben.
Unsere letzte in diesem Jahr ist eine Inspiration Challenge. Diesmal ist es eine meiner Karten die als Vorlage dient. Ihr könnt das Layout, die Farben, das Thema oder alles nehmen.
Hello and welcome to our last challenge for now. Yes, you read that right. After a little over three years, we take a little break. But don’t worry, we’ll be back with new challenges next year.
Our last one this year is an Inspiration Challenge. This time it is one of my cards that you can take as inspiration for your own creation. You can choose the layout, the colors, the theme, or all of it. Your choice.
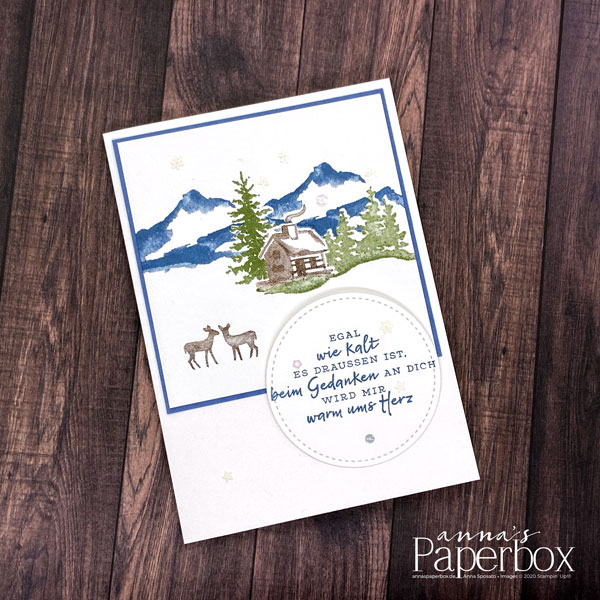
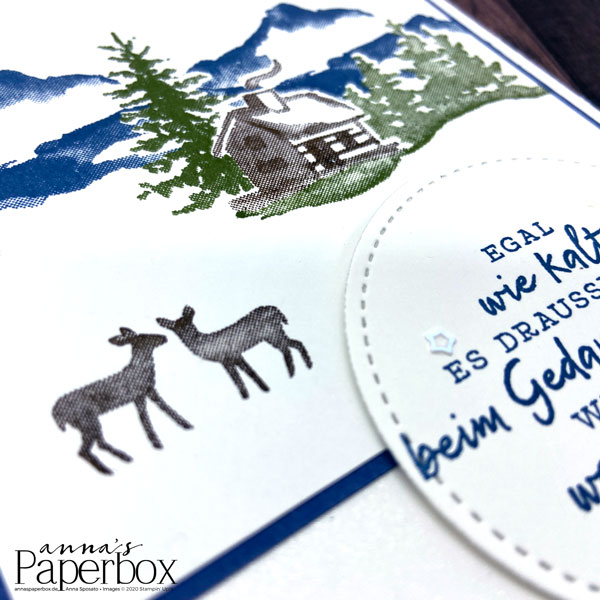
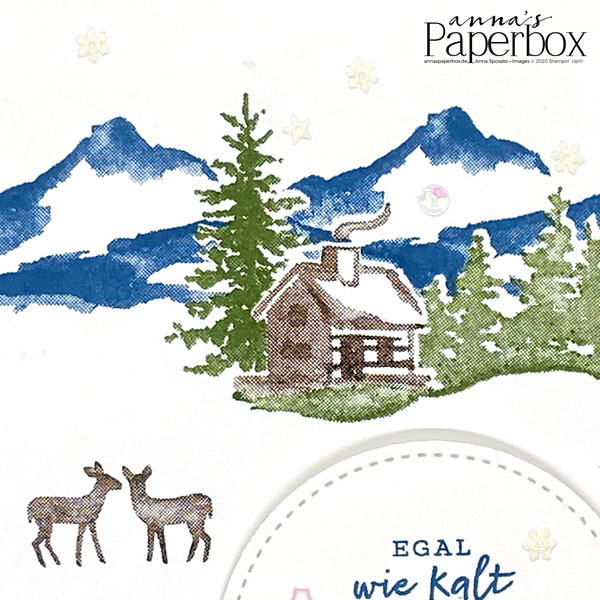
Ich hab das Layout übernommen und eine winterliche Karte mit einem meiner lieblings Sets (Snow Front) gemacht. Um die einzelnen Motive nicht übereinander zu stempeln, braucht es etwas an Vorarbeit. Zuerst die Motive die im Vordergrund sind auf ein Post It stempeln (der Großteil des Motives sollte auf dem klebenden Teil gestempelt werden) und diese dann ausschneiden. Beim stempeln der Landschaft fangt ihr dann mit dem vordersten Motiv an. In meinem Fall die Hütte. Nach dem stempeln wird diese dann mit dem ausgeschnittenen Post It überklebt und so könnt ihr dann die Bäume draufstempeln und euer Motiv bleibt frei und im Vordergrund. So geht es dann weiter. Bäume stempeln, abdecken und nächsten Baum oder Berge stempen.
I choose the layout and made a wintery card with one of my all time favorite sets (Snow Front). To avoid stamping the individual motifs on top of each other, a little prep work is required. First stamp the motifs that are in the foreground on a Post It (the majority of the motifs should be stamped on the adhesive part) and then cut them out. When stamping the landscape you start with the foremost motif. In my case, the house. After stamping, you cover the house with the cut out Post-It version and then you can stamp the trees on it and your motif remains free and in the foreground. Next stamp the trees, cover and stamp the next tree or mountain and so on till your happy with your picture.
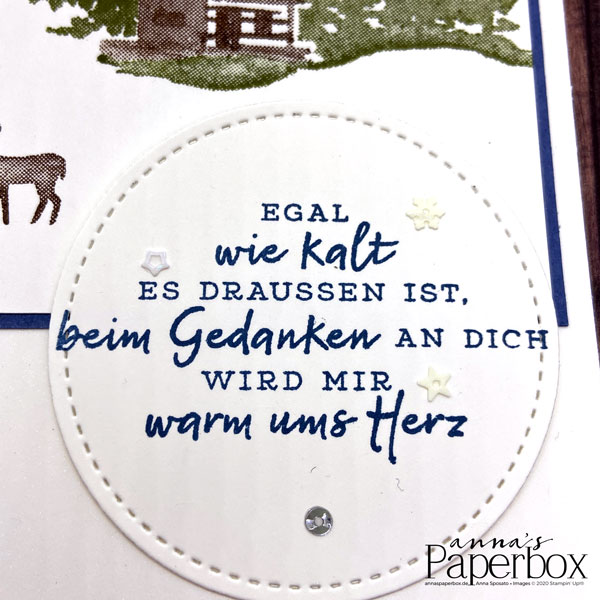
Den perfekten Gruß für die Karte ist aus dem Set Schneeflockenwünsche. Der Gruß passt gerade so auf den zweitgrößten Kreis der Stickmuster Kreisstanzen. Der größere Kreis war einfach zu groß. Das ging gar nicht. Zum Schluß habe ich noch ein paar Schneeflocken Pailletten aufgeklebt.
I found the perfect greeting for the card in the Snowflake Wishes set. The greeting fits just right on the second largest circle of the Stiched Shapes dies. The larger circle was just too big. That didn’t work at all. To finish the card, I glued on a few snowflake sequins.
Danke das ihr heute wieder vorbeigeschaut habt. Besucht uns doch auch auf der Challengeseite. Wir freuen uns auf eure Ideen zum Thema. Um auf die Challengeseite zu kommen, klickt einfach diesen Link oder das Challege Logo unten
Thanks for stopping by today. Hope I’ve given you some ideas and we would love to see your creation over at Inspire.Create.Challenges. To visit the ICC Challenge, simply click HERE or the logo of the Challenge
| Maße für die Karte: | Measurements for the card: | |
| Farbkarton Flüsterweiß: 5¾” x 8½” (14,5 x 21 cm) an der langen Seite bei 4⅛” (10,5 cm) falzen 3¾“ x 3¾“ (9,5 x 9,5 cm) Farbkarton Abendblau: 3⅞“ x 3⅞“ (10 x 10 cm) | Whisper White Cardstock : 5¾” x 8½” (14,5 x 21 cm) score on the long side at 4⅛” (10,5 cm) 3¾“ x 3¾“ (9,5 x 9,5 cm) Misty Moonlight Cardstock: 3⅞“ x 3⅞“ (10 x 10 cm)) |
Product List

")


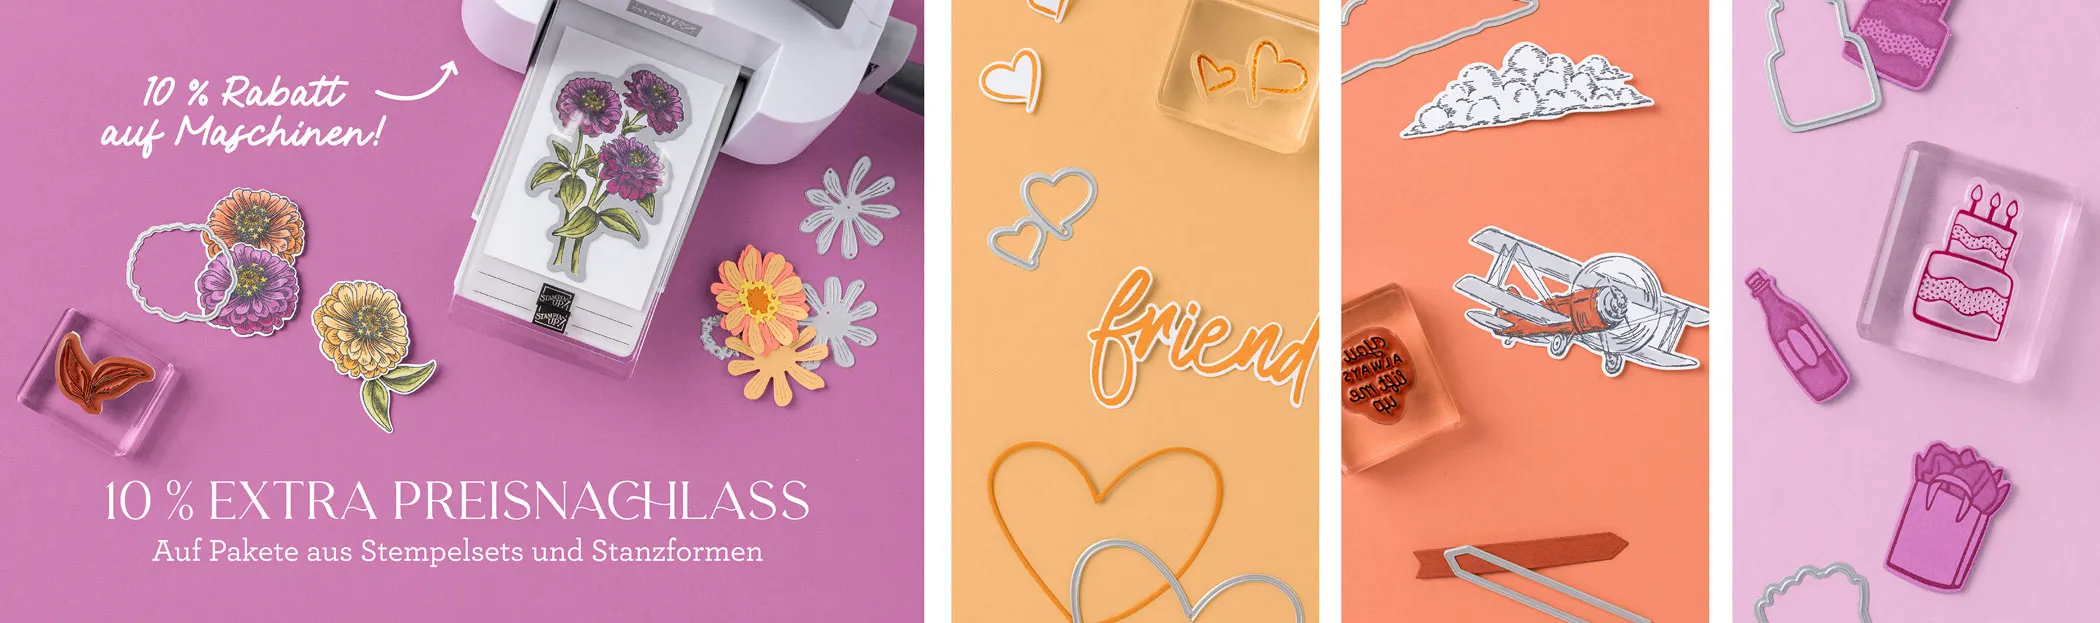
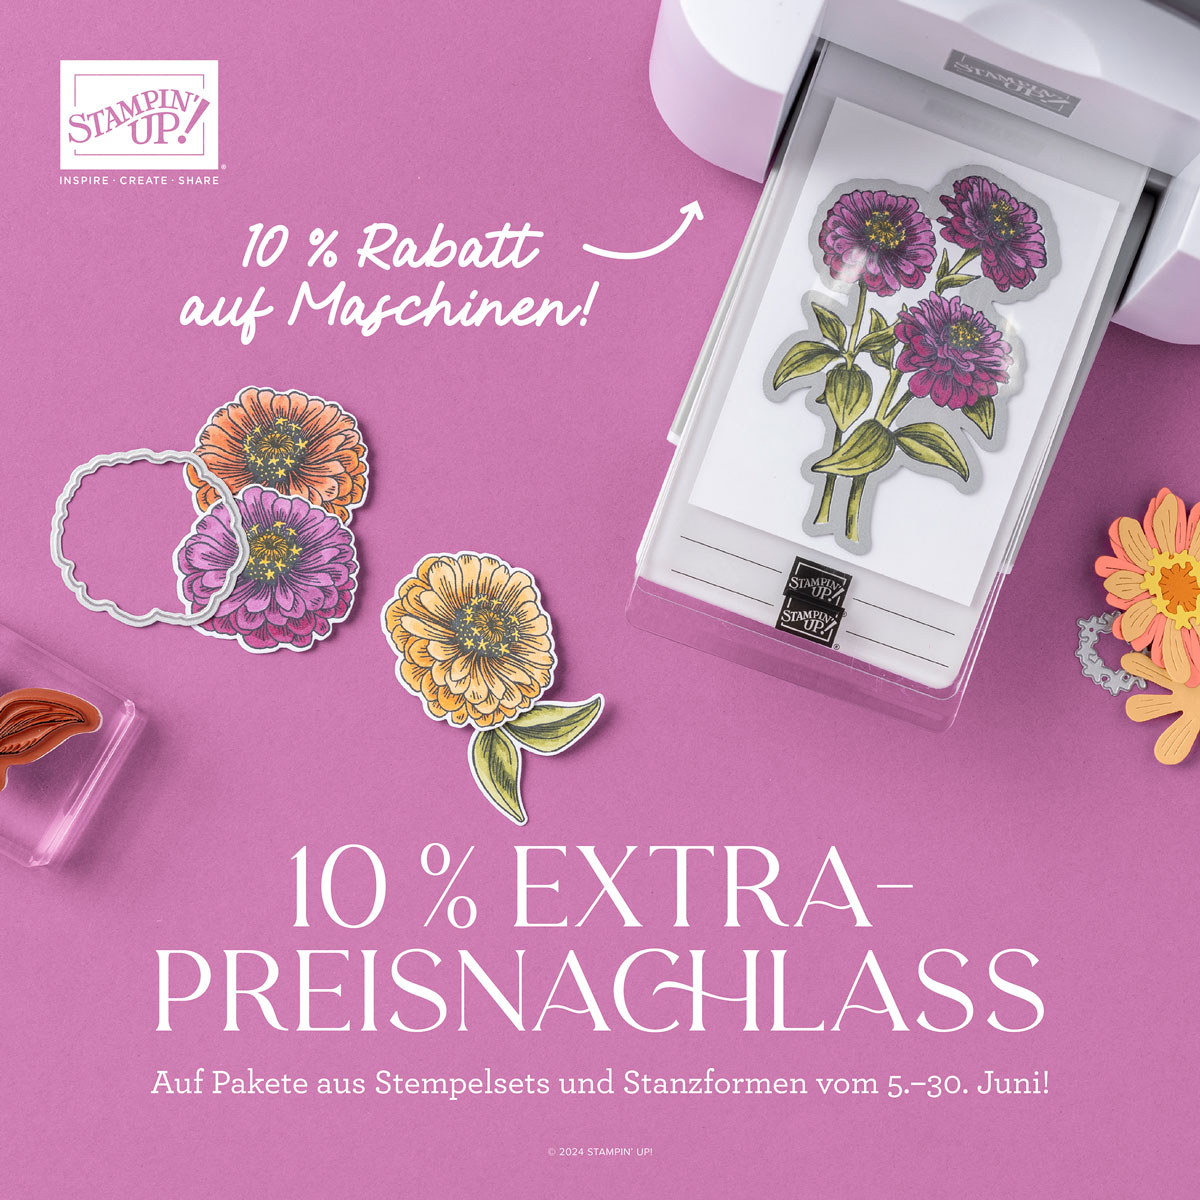
10% Extra-Preisnachlass